31st July


Was house painting day so only prepared another 3 keel bearers and drilled and countersunk for keel bolts later this afternoon.  The aft bearer has shallow nut countersinks as it is thinner and using the same 100mm /12mm A4 bolts and nuts.  I am drilling the holes in the bearers before gluing so that I can use a drill press and get the holes at the correct angle for the heads to contact the steel on the outside and be in the middle of the bearer on the inside.  I will just turn the boat upside down again when the keel is ready for positioning and marking for the holes in the steel plate.

 30th July


Didnt do much today.  Just planed the oak keel bearers and mast compression post and dry fitted the first keel bearer.

 29th July

Did some corner filling yesterday. All filled from frame A to frame D.  Then dug out oak supply and got a nice new blade on circular saw and fired up planer this afternoon as well.

I could only get oak 50mm thick and needed 60/65mm approx so also bought a plank of 25mm to laminate on to get the thickness.  Cut my wide boards into 65mm wide strips and planed 2 surfaces flat to glue togeather.


Gluing underway but now finished.  Just got to let it all cure then wizz it through the planer to get it to size.  Each beam will be a different size and angle on the bottom so it will take some time and thinking.
Also have an oak compression post for the mast step. Another party tomorrow - Cedros (our village) is having a bit of a festival for the residents this weekend before the big festival in Horta starting soon. Called Semana do Mar  - means Week of the Sea.


 27th July

Sorry not much news over the last few days but nothing happened over the last few days.  Weather was very good so was painting houses and grouting and going to barbecues in the park.  Today was supposed to rain so jumped into Nuts with some sand paper.  My favorite task!!  Sanded the joints between the frames and stringers and the plywood sides in preperation for smoothing fillets.


Did some fillets which are mostly for cosmetic purposes as they have 50%glass beads (50% cabosil) for easy sanding as suggested by my friend Jim.  There was no slump and could make quite a runny mix for good wetting out.  The original glue mix  was smoothed out with a finger for a small structural fillet when the ply was glued on .

I dont want any sharp corners inside the boat which is why I routed all the frames and stringers with a 6mm radius before construction started.  Also all the plywood was pre impergnated with epoxy and peelply on the inside before fitting. 

Got a good system for making filler squeezing bags using our chamber vacuum sealer.  I should start icing cakes😎

 24th July


Got home early enough from great party so did a quick touch up sand and a cleanup and de-dust and put first coat of epoxy primer on.  Very pleased with fairness.  Not perfect but cant see any overlaps or buildups of glass.


Rain stopped house painting today so made keel to hull joint template then....................


Turned the hull over


Easy peasy with 4 lifting points.  First a bit of a cleanup and sand on some fillet spots already done and fillet all the stringers and bulkheads that still need it.  Only then can we begin with adding oak keel bearers and interior.  Lots of thinking and planning to do.  As expected the boat has shrunk in size now that it is the right side up.  I guess it will shrink another 50% when it goes in the water!

 July 22nd

More white rabbit stuff. 


Attacked the bottom with the big shuffle sander with vacuum cleaner attached.  30 minutes later all smooth but ears blasted by noise.  Should have put my ear protection on.  Nice to work with no dust flying about but HUGE noise.  Neighbors were bushwacking their garden so didnt feel guilty.  Also did some hand sanding on the chine panels to fair up some touch up filling spots.


Put touch up filler on some spots on the bottom and a bead along the chine to hand sand with a long pad to make it even(ish).  Hate this filling and sanding work.  My workshop is covered in a white powder film and have to wear a respirator when I enter.  The spiders dont like it either as their webs get covered  in dust.  One more sanding session then can get the epoxy primer out.😁 Got other commitments tomorrow so maybe only on Monday (hangover permitting - 50th birthday party for a friend)

 July 21st


Finished sanding port chine panel and filled small blemishes and low spots.


Skimmed bottom with epoxy and micro glass beads and will attack it tomorrow afternoon with a 1/2 sheet orbital sander with vacuum attached.  Should be a lot easier than hand sanding and not too stressed about the finish on the bottom.  Just want to feather in the overlaps and buildups on the chine and transom.  Sorry photos look a bit like a white rabbit in a snowstorm but that is what is happening at the moment.

 20th July 


Sanded the touch ups on the  stbd chine panel.  Just got 1 small patch to refil and sand then the panel is done.


Started sanding port panel and got about half done.  About another 2 hours of sanding to finish.  This side is working out much better with my different mixing proportions even though the filler is a bit harder to sand.  Doing all the sanding by hand with long pad and can only manage about 1 hour at a time before needing a break.  Not much fun but getting a nice finish.

 19th July

Not very exciting stuff happening in the last few days.  Mixed a bunch of epoxy with micro glass beads to create a fairing filler and plastered the stbd chine panel as a first experiment/trial on the best way to get a finish.  I mixed different batches of glass beads/epoxy ratios to get the best for me.  I discovered that the more glass beads in the mix the easier it is to sand but the most difficult to apply and get to wet out the surface it is applied to.  When it is more runny it is very easy to apply, not too difficult to sand but tends to slump and run a bit on near vertical surfaces making it very uneven.  Today I plastered the port chine panel using 160ml of mixed epoxy with 2 1/2 plastic cups (will check the ml size of the cups and let you know) of glass beads and two heaped teaspoons of cabosil to make it more thixotropic.  It worked very well and easy  to apply with no slump.  Will find out tomorrow how easy it is to sand.


I sanded the panel by hand with a long rigid foam sanding block using 80 grit.  Lots of work and sweat in varying directions to get a fair surface.  I marked all the hollows with pencil for refilling.


Skimmed the port chine panel with my chosen epoxy filler mix and also filled the marked spots on the stbd side.  Not looking forward to the sanding tomorrow.  My new respirator/dust mask is working overtime.  If I get bored of sanding I might just flip the hull over to look inside.

 July 16th


Taking a break so only sanded the hull over the weekend  in preparation for screeding with epoxy and micro glass beads.  Only going to fair up the bottom and middle chines before turning the hull on its sides to put fillets in the stringers in a comfortable position.  Hopefully it work out OK.  Lots of sanding with long sanding pads.  I will finish the side screeding  after the deck is glassed on way in the future.  I think the hull will be turned over several times to keep it in a comfortable working position.

 14/15th July

Sorry but not much news yesterday.  Had lots of other commitments and only spent a few minutes with the sander and tape measure.


Finished the tiling on my sisters patio this morning and prepd the glass for the bottom this afternoon.

Mixed a bunch of epoxy and glassed the bottom


At this stage the middle chine panel has a double layer till aft of the keel area.  Wizzed off to start barbeque for dinner.

Stomach full of chicken , salad and a few glasses of nice red so checked the epoxy,  It was well cooked so pulled the peelply off.
It is great fun - like ripping up 10 euro notes. 😟

Here is my bank ballance 🙈  But the time saved and finish left behind - 😁  - 5 minutes with the sander and ready for the next coat.


Still had some vooma so laminated the second layer on the bottom and also 2 extra layers connecting the bottom to the chainplates area.  Now all the bottom glassing is done and the fun starts!!!  The Job everybody loves - filling and sanding!  Maybe I will dig some holes in the garden or bang my foot with  hammer to prepare my brain 

 July 12th.


This is the missing photo of the glassed stbd side from yesterday.


Pulling the peelply off this afternoon.


Did a quick sand to feather the edges of yesterdays glassing and laminated 2 layers on the transom and covered with peelply.  4 pieces of glass overlapped in the middle to reinforce the rudder fixing area.


After sanding yesterdays glassing also finished the bow section with the overlap onto the other side.


Also added another layer over the whole bow.  It looks rather rough but the peelply is not wetted out to the edges and when pulled off the under surface is very smooth and amine free.  (the sticky stuff that epoxy leaves on the surface that must be removed before more gluing or sanding is done.)  

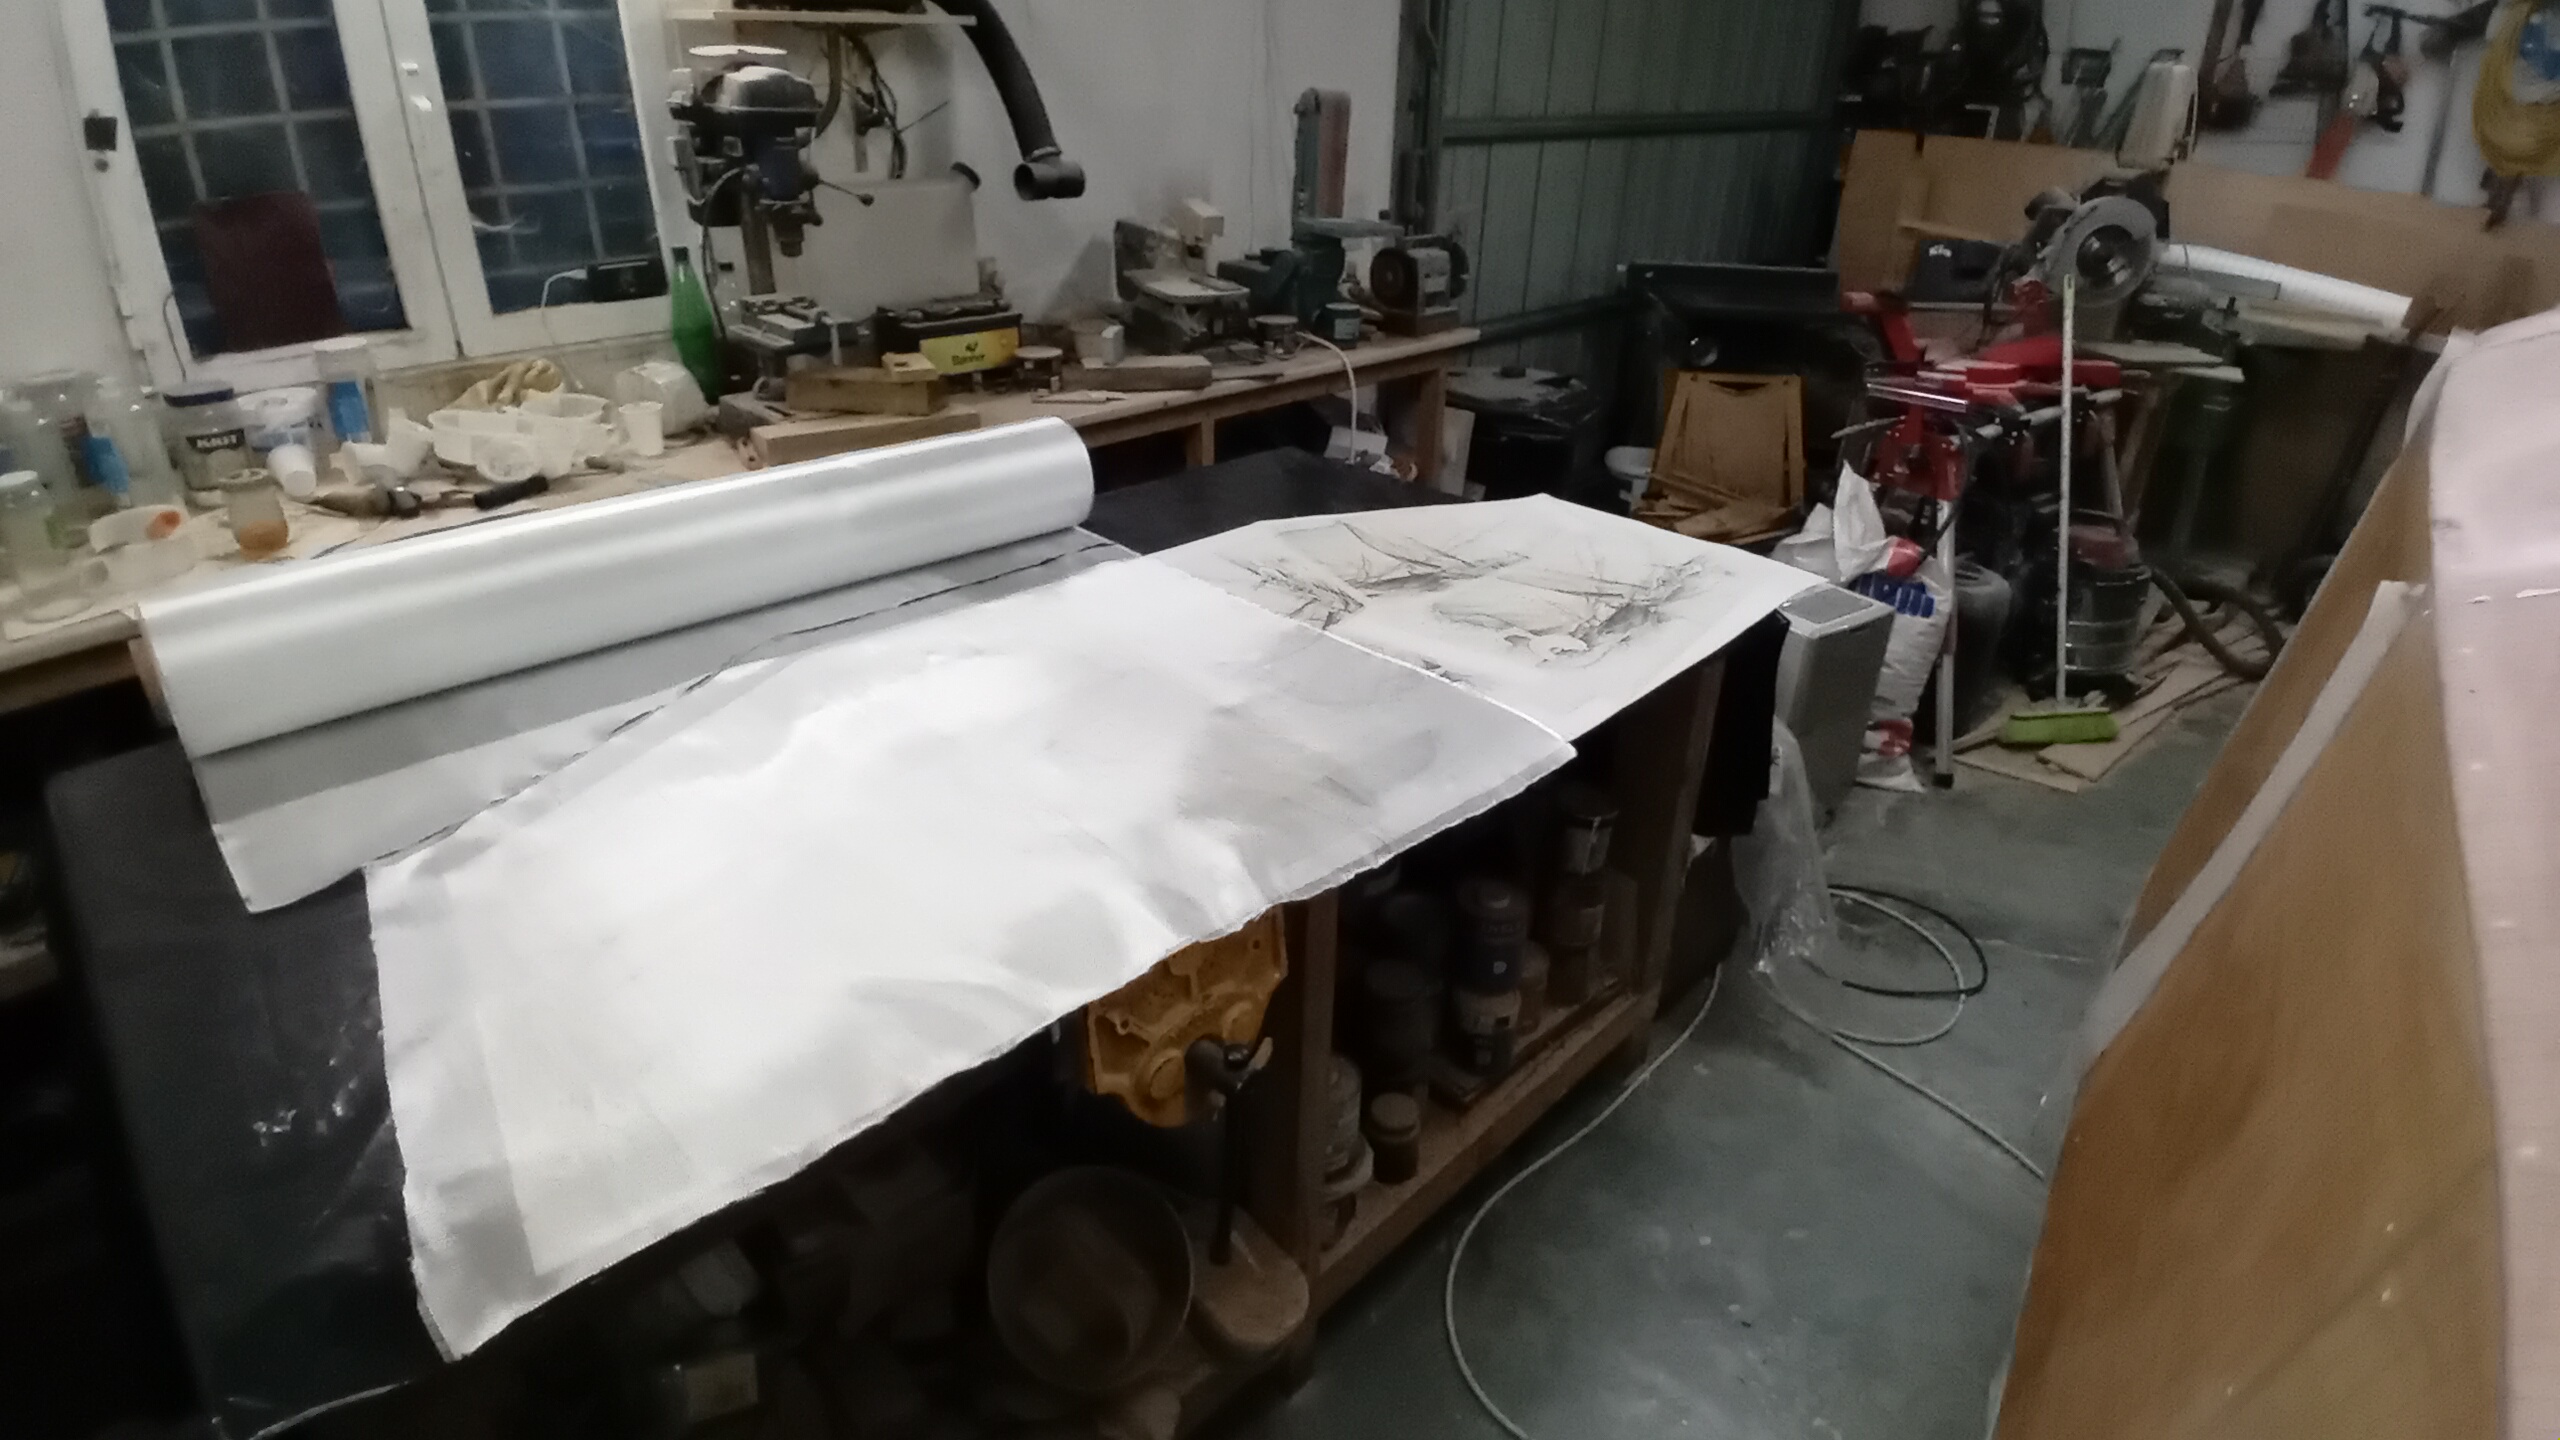
Using peelply is not cheap.  It is fairly expensive and uses more epoxy which is definitely not cheap.  It takes a bit more time to apply after glassing but ....  saves a HUGE amount of time in fairing, sanding and finishing.  It also prepares the surface  very well for further glassing work.  I think it is better to work some extra hours in your paid work and invest the cash in peelply and a bit more epoxy and save lots of time in the epoxy process.


Couldnt wait so hung the hull up and removed the strongback  and supporting timber.


Hanging from 4 block and tackle  rigs from the rafters of my workshop.


The hull lowered down by 35cm to make it easy to glass the bottom.  I dont need to go inside the hull for this so not a problem. Not as flexible as I used to be so like to keep the work area at a comfortable height.

 11th July

Laminated starboard side this afternoon.  Very humid and drizzly weather but with workshop closed up and dehumidifier running full time is just fine for epoxy work.  Somehow forgot to take pic of new glassed side.  Got glassing session on time lapse video for when I start youtube.  That will only start when boat is turned over and planning for the Atlantic crossing is started.  Am not planning to do a "How to build a boat" channel but concentrate on my thoughts, planning and preparation for the adventure.


 Removed peel ply from port side glassing and got to sand/feather the edges for next step.  It is very easy and only takes a few minutes if you have used peelply.


Made a paper template of the transom and cutting 4 pieces of glass to cover it.  2 layers that will overlap by about 300mm in the middle making the rudder pintle area reinforced by 4 layers (800gm2) and the rest of the transom 400gm2.  I will still reinforce the stabilizer fixings with a bit extra and maybe the pintles with a bit more on the outside plus some inside.  All the layers from the bottom, sides and transom overlap on the corner making it very strong.  Maybe on the heavy side but aiming for peace of mind and not speed.

Cut cloth for laminating rest of bow section.  I have got to remove peelply and feather edges before laminating as the glass will wrap around the bow to double up on the thickness.  Doing the bow glass in 2 pieces with an overlap on the chine for extra thickness.


 10th July


Laminated port side this afternoon.  It took about 1.3 L of epoxy resin (still have about 500mm on bow to do).  All covered with peel ply which adds to the epoxy consumption.  After dinner prepared peel ply for starboard side glassing tomorrow afternoon. 

The peel ply is taped on the bottom and I roll it down as I move along and wet it out properly.  That way I do all the laminating and epoxy mixing by myself with no stress and rush.  Just slowly move from the transom towards the bow.  I mix 160 ml of epoxy at a time.  High humidity here in the Azores at the moment so got the workshop all closed up with dehumidifier going.  I can feel the difference when I leave the workshop.  Thanks Jim for the donation to the project.  The metal roller was put to good use today.  Got to get the correct handle for the rollers. 


 9th July


Didnt do much this evening.  Just cut the glass for both sides in preparation for the first big glassing session.  Might do some tomorrow afternoon.  It is going to be humid so going to seal off the workshop and run 2 dehumidifiers.